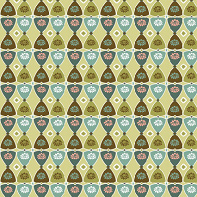
| One of the most impressive
qualities of digital files is the ability to change colors.
Let’s say that you love all of the papers in a digital
kit, but they don’t match the colors of the photos
you would like to use. What do you do? With real paper,
there isn’t anything you can do. But, in Photoshop
Elements you have the ability to alter the color of the
papers.
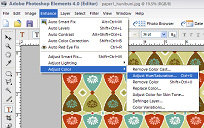
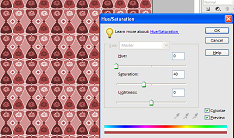
Step 1: (fig A) The easiest way is to
use an adjustment tool called Hue/Saturation which you can
access by typing Ctrl+U, or by going to
the Enhance Menu, and selecting Adjust
Color | Adjust Hue and Saturation. (You’ll
notice the shortcut shown just to the right of the Adjust
He & Saturation choice.)
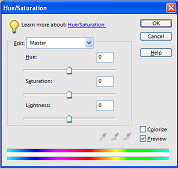
Step 2: (fig B) Click on the Hue
slider and slowly move it to the right, and then to the
left. You’ll see how easy it is to change the colors
in the original paper. You can also adjust the Saturation,
or intensity of the color, or the Lightness/Darkness of
the color.
Step 3: If you prefer a monochromatic look,
just click on the Colorize button at the
bottom right of the Hue/Saturation box. The program will
automatically change the image to a monochromatic version
of whatever your current foreground color is, but you can
easily change this by adjusting the Hue and then the Saturation
and Lightness
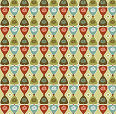
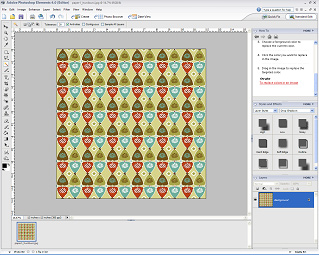
Step 4: (Fig C, D, E, F) If you only wanted
to alter one particular color on the paper, there is a way
to do that as well. Let’s say that you want to remove
the red from the original paper. You would select the Magic
Wand Tool (W) (making sure that
the “contiguous” box on the menu is unchecked,
and the “tolerance” level is set to 30)
and click on the red in the paper -- this will select all
of the red areas of the paper, putting a marquee or ‘marching
ants’ around them.
Now you can use the Eyedropper Tool (I)
to select the color you want to replace the red. In this
example we selected the light blue in the paper. When we
clicked on the light blue with the Eyedropper Tool, it also
changed the foreground color to this same light blue.
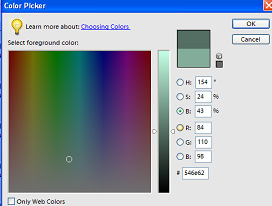
Double-click with your mouse on the Foreground
Color Chip at the bottom of the Toolbox. This will
bring up the color picker window. We want to change the
color to a darker shade of the same color, so we click on
the radio button in front of the B (for
Brightness) and then move the slider down until we get the
color we want. Notice that the color chip shows the new
color above
with the original color below.
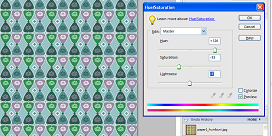
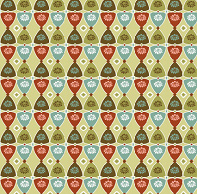
Now, we can switch to the Paint Bucket Tool (K)
(make sure the “contiguous” box on the menu
is unchecked) and fill the selected area using
the new foreground color!
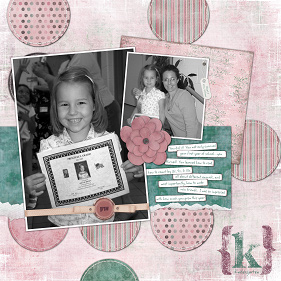 Original Layout
|
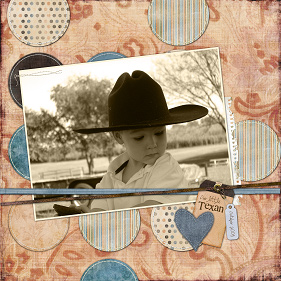 New layout with background colors changed.
 |
|