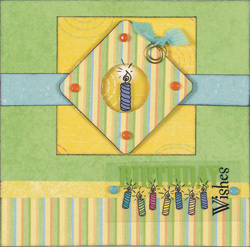
Cut the card to a 5” square and cover the card
front with lime textured paper, trimming even with the card edges.
2.
Cut a 5” x 1 1/4” strip of yellow textured
paper and glue to the bottom of the card front. Cut a 5”x1”
strip of stripes paper and glue to the bottom edge of the card front.
Ink the card front edges with black.
3.
Cut a 2 3/4” square of yellow swirls paper,
ink the edges and center on the back of the green portion of the
card front. Cut a 5” x 3/4” strip of aqua linen paper
and ink the edges. Glue centered across the yellow swirls square,
extending the width of the card.
4.
Add glue to the white portion of a circular slide
mount and place glue-side down on the back of the stripes paper,
angled like a diamond. Finish covering the slide mount, then punch
a hole in each corner and insert an orange mini brad. Glue the candle
overlay to the slide mount so the candle image shows through the
slide mount center. Add the slide mount angled like a diamond to
the center of the yellow swirls square. Tie a length of ribbon to
a gold clip and trim the ribbon tails at an angle. Add the clip
to the right side of the slide mount.
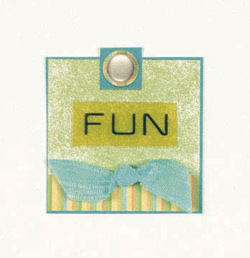
5.
For the card inside: Cut out the square tag and glue
the “fun” overlay to it. Knot a piece of ribbon, trim
the tails at an angle and add to the bottom of the tag with a Mini
Glue Dot™. Glue the tag to the center of the inside of the
card.