To get started, download a free trial version of FunHouse from http://arcsoft.com/products/funhouse/.
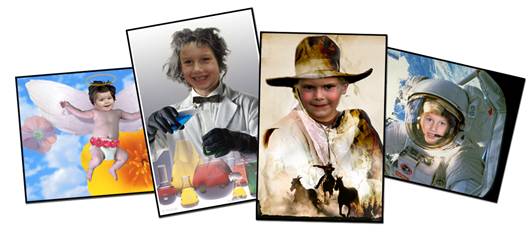
Reasonably priced at under $40 the program is packed with over 150 templates to get you started creating hilarious fantasy photos of yourself, your family and your friends.
Open Funhouse and follow the 5 easy steps to Insert yourself and friends into silly scenes and outrageous situations.
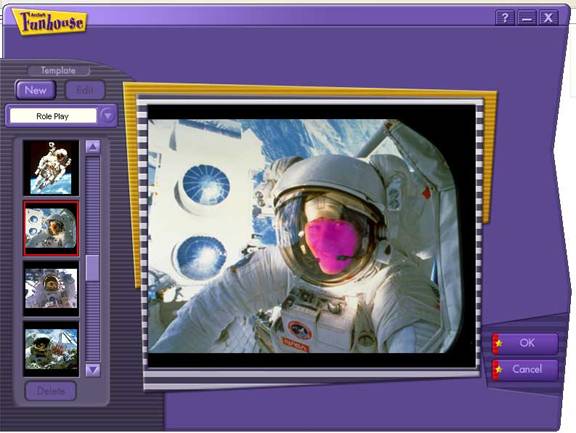
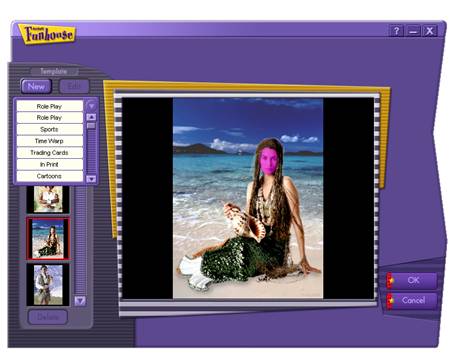
Step 1: Select a template from the categories under the drop-down menu. When you find a template you like, click OK in the bottom right hand corner of the screen.
Step 2: Add your photo to the template in one of three ways. Use the Open button to browse your computer for digital photos. Use the Acquire button to capture an image from a scanner or capture a video clip using the Capture Live Video function. Don't worry if your photos don't seem to fit into the photo. You will have a chance to you’re your photo on the next step. When you locate your photo, confirm by clicking OK.
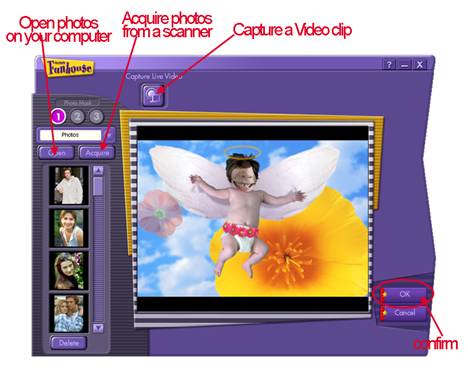
If at any time you wish to return to a previous screen, select Cancel.
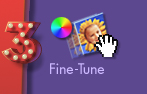
 Step 3: Tweak your photos to fit the template. Click on #3 Fine-Tune to continue.
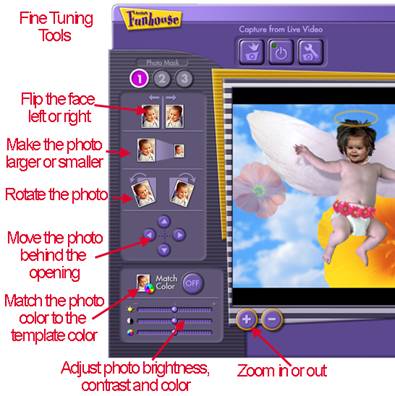
Use the fine-tuning tools to move and edit your photo so that it fits realistically within the template.
Step 4: Add text to the photo if you wish. You will be able to choose from any font you have installed on your computer. You also have the ability to change the size, orientation, color, and style of the text.
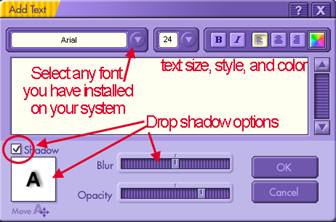 If you want a drop shadow behind the text, toggle the Shadow box. Adjust the shadow blur and opacity with the sliders.
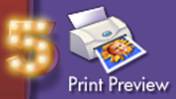
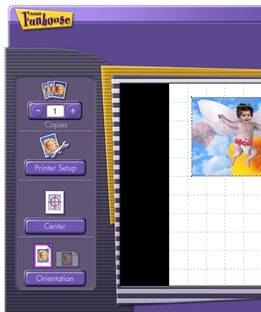
Step 5: The last step is to print, save or send your creation. Select #5 Print Preview to choose the number of copies and photo arrangement.
If you are planning to use your creation on a digital project such as a scrapbook page, card, or home décor item, click Done to return to the main menu.
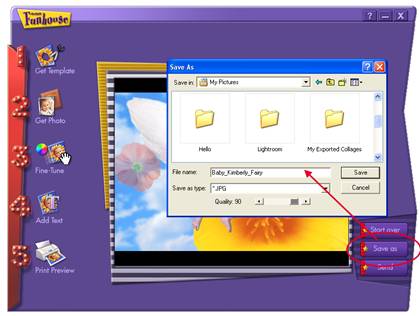
Saving your creation:
From the Main Menu, click Save As to activate the Save As dialog box. Browse your computer to file the photo.
Name your photo, select the file type and quality, then select Save.
Saving your photo this way allows you to open it in a graphics editing program or send it as an email.
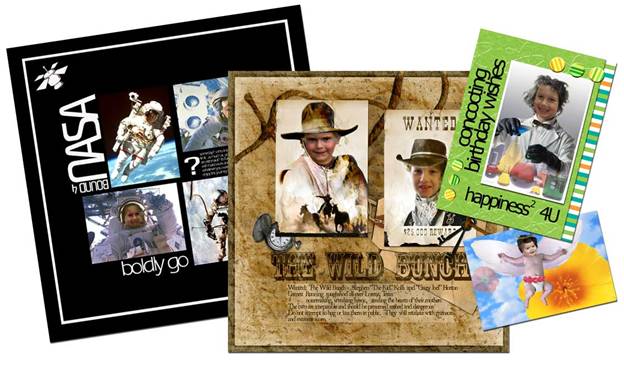
Once you have created a Funhouse Photo, you can create wacky greeting cards, scrapbook pages, or postcards that are sure to bring a smile to the recipient's face. Funhouse photos are also interesting conversation pieces when framed and displayed in your home.
Barbara:
If you are going to demo one of these on the air, I recommend this one because it doesn't take much finessing to make it look right. It's the fastest one I've tried.
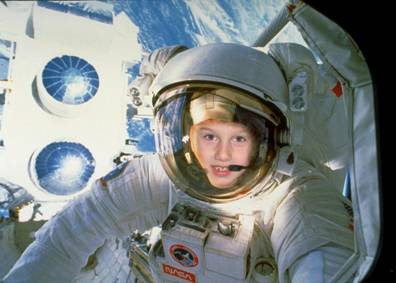
The template for this is under Role Play - about 3/4 of the way down.

Insert this photo (from your desktop or some other easily-found file)
Hit the enlarge button 3 times, then center the photo using the arrow keys.

You can demo some of the other buttons, but the photo wouldn't require any other adjustments to be acceptable.