Open the photo you'll be using to create the silhouette (File > Open). A photo with the subject against a plain background works well for this technique.
Click on the black & white circle at the top of the Layers palette and choose Threshold from the menu. Your photo will immediately turn to pure black and white.
Move the Threshold slider to the right to increase the amount of black. Move the slider to the left to increase the amount of white.
When you see a good image, click okay.
Open the Layers palette flyout menu and choose "Merge Down."
Get the Magic Wand tool and make sure "Contiguous" is NOT checked in the Options Bar. Click once on the black part of the image to select all the black.
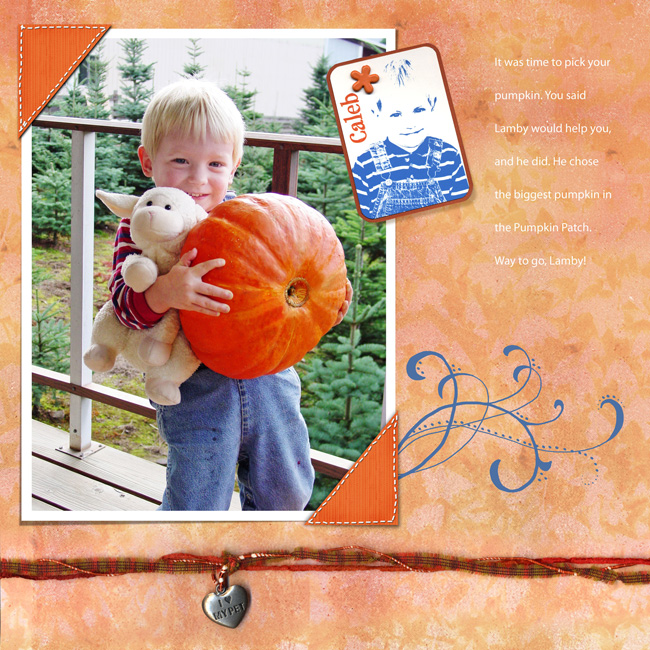
Open an image of a tag, or create one yourself.
Choose Edit > Paste to place the silhouette in a layer above the tag. Use the Move tool, if necessary, to move it directly over the tag.
If you need to resize the silhouette, select the Move tool and make sure "Show Bounding Box" is checked in the Options Bar. Click and drag from a corner handle to resize, and click on the green check mark next to the outline to accept the change.
Choose Layer > Group with Previous to make the outline show up only on the tag.
To change the color of the silhouette, click on the Foreground color. When the Color Picker pops up, choose the color you want and click okay.
Press Alt Shift Backspace (Mac: Opt Shift Delete) to fill the silhouette with the Foreground color.