Project 1212-4b


Hot Off The Press – Stitched Swirls
Presented By Sara Naumann
Designed by LeNae Gerig
Sponsor:  Hot Off The Press

For more information visit:

www.paperwishes.com


Stitched Swirls:  Pumpkin Carving Page


Materials Needed:
  • Paper Pizazz® Masculine sarapapers™
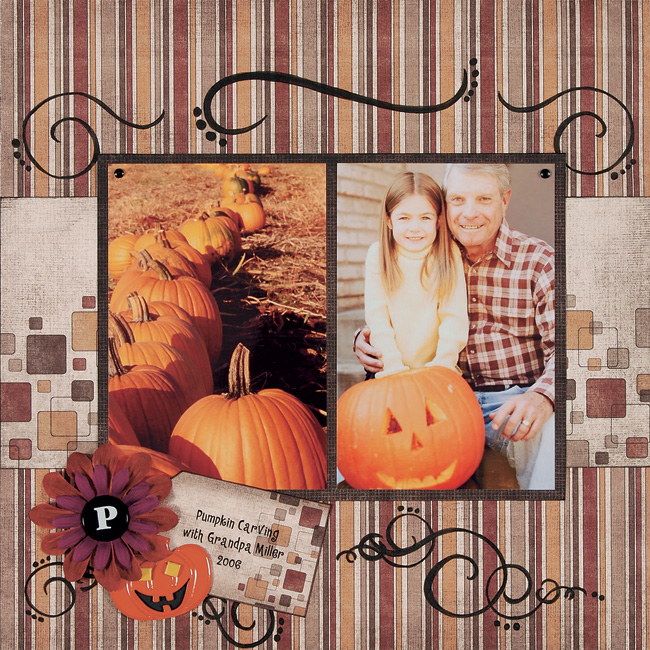
  • Masculine Embellish-abilities™: Silk flowers, Great Big Brad and mini brads
  • Paper Pizazz® Swirly Doodles Template
  • White ABC Rub-Ons for Great Big Brads™
  • Halloween Brad Buddies™: Jack O’ Lantern
  • Black Pen: Double-ended Zig® Writer with .5mm fine tip and 1.2mm brush tip
  • 1/16” wide hole punch
  • Black inkpad


Instructions:
  1. Use the striped paper as the background, with stripes running vertical. Cut a 12” x 4 3/4” strip of squares border paper and ink the long edges black. Glue to the center of the striped paper.
  2. Cut an 8 3/4” x 6 1/2” piece of brown woven paper. Glue two 4” x 6” photos vertically side-by-side, leaving 3/16” of space between them. Punch a hole 1/4” in from the outside edge of each photo at the top and insert a black mini brad. Glue the photo mat to the page, centered over the squares border paper.
  3. Place the maroon silk flower on top of the brown one and secure to the page using the black Great Big Brad™. Apply the letter “P” rub-on at the center of the brad. Computer journal onto the large tag and glue to so the end extends from under the silk flowers.
  4. Use the template to trace the desired swirls onto the striped portion of the background paper. Place the template over an element like the tag and draw the swirly design as if extending from underneath it. Use the large end of the pen to make dots around the swirls. Glue black cardstock behind the jack o’lantern mouth and secure the Brad Buddy™ over the edge of the tag using the yellow brads.
  5. Use the striped paper as the background, with stripes running vertical. Cut a 12” x 4 3/4” strip of squares border paper and ink the long edges black. Glue to the center of the striped paper.
  6. Cut an 8 3/4” x 6 1/2” piece of brown woven paper. Glue two 4” x 6” photos vertically side-by-side, leaving 3/16” of space between them. Punch a hole 1/4” in from the outside edge of each photo at the top and insert a black mini brad. Glue the photo mat to the page, centered over the squares border paper.
  7. Place the maroon silk flower on top of the brown one and secure to the page using the black Great Big Brad™. Apply the letter “P” rub-on at the center of the brad. Computer journal onto the large tag and glue to so the end extends from under the silk flowers.
  8. Use the template to trace the desired swirls onto the striped portion of the background paper. Place the template over an element like the tag and draw the swirly design as if extending from underneath it. Use the large end of the pen to make dots around the swirls. Glue black cardstock behind the jack o’lantern mouth and secure the Brad Buddy™ over the edge of the tag using the yellow brads.

Tip:  I like to determine the layout of my page before adding the swirls from the template so I can give the appearance of layering elements over the designs. To make the swirls appear to extend from under the embellishments or mat, simply place the template overlapping the tag, for example, and begin tracing from the edge of the tag. Fill in the outline.

Project Images:
Guest:


Sara Naumann and Julie McGuffee


Copyright © 2008 Scrapbook Memories, All Rights Reserved