-
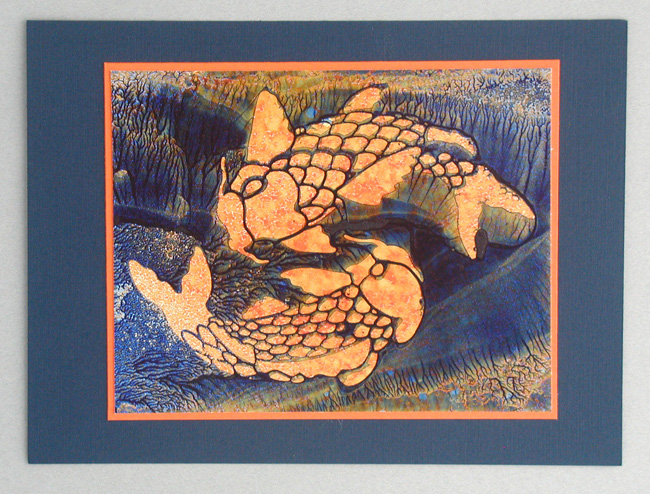
Spray a light color like yellow (Mango Lemonade) on the glossy card stock to prepare it . For added interest spray the orange color (Orange Juice) on top of the yellow. This will create the color of the koi fish. Set the paper aside to dry for a few minutes or you can use a heat gun or blow dryer to hasten the drying process.
-
Place the stencil face down on the cardboard. You don't want the printed copyright or the designer's name to be visible. (IF THEY ARE VISIBLE THEY WILL ALSO BE VISIBLE ON YOUR FINAL PRINT). Now spray the stencil several times with the dark blue color (Stormy Water). The ink is almost runny.
-
Carefully pick up the stencil by it's edges from the cardboard and set it on an absorbent paper towel. The inked side should still be the "up side".
-
Gently place the glossy card stock that was sprayed yellow and orange in step #1 face down onto the inked stencil. Smooth it gently on the back of the paper over the inky stencil. Peel it off immediately and set it aside to dry a few minutes. Or again you can heat it with a heat gun to dry more quickly.
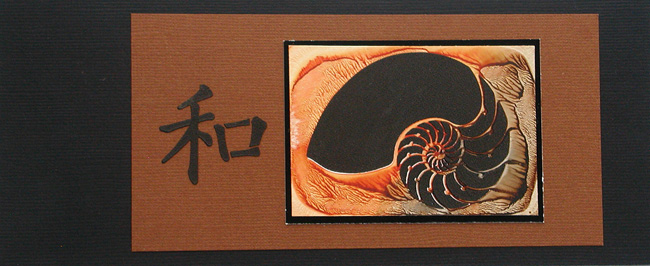
Variation: Nautilus Card
Using plain white glossy card stock (instead of spraying it with a light colored ink in step #1) the background image will then be white.
(Show the white nautilus card).
Variation: Nautilus Card with Black embossing Paste
For another variation you can place the stencil back onto the image and
use an embossing paste to fill in the white area, or you can even use a
white embossing paste to create an embossed effect.
To emboss with paste use removable tape to tape out all of the edges.
The first piece of removable tape is the hinge and then the other three
pieces are placed. Be sure to extend the tape half an inch beyond each
edge of the paper to keep the paste from smearing onto the paper. Use
the Matte Black Embossing Paste and the palette knife to smooth the
paste into the stencil openings. When you remove the stencil, let the
first piece of tape you applied remain on until the last moment, to use
as a "hinge". That way you can flip the stencil back against the last
piece of tape as if you were opening a door. After removing this piece
of tape, drop the stencil immediately into a pan of water and scrub it
clean. For more step-by-step directions on how to use the embossing
paste, refer to the book "New Dimensions in Cardmaking" by Lynell
Harlow.
The paste will dry in approximately 30 minutes. |