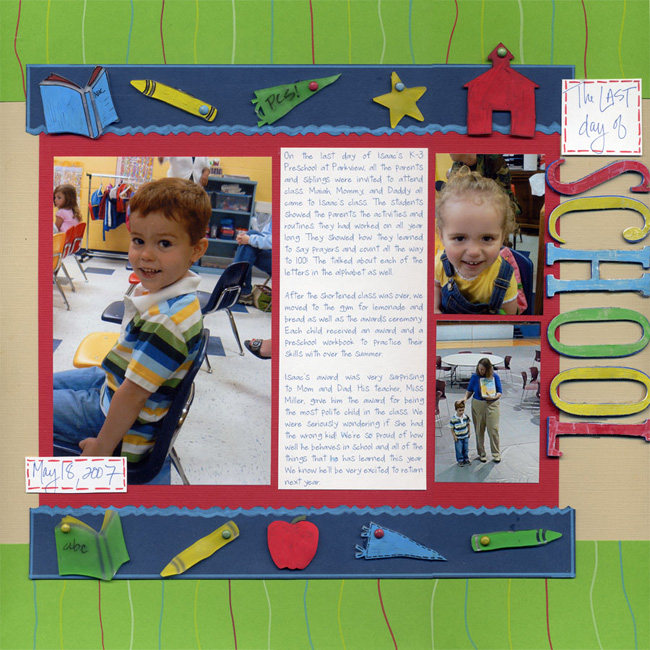
1. Create shrink plastic elements with templates and markers
Trace and color templates with Perma-paque markers onto the smooth side of the shrink plastic.
Embellish as desired with other colors and outlines.
Cut out shapes with scissors
Punch holes for brads as desired (not required for all pieces)
To shrink the elements, use tweezers or poking tool to hold down plastic while heating it with a heat gun. Some plastics seem to roll more than others – if needed, place a flat surface over the charm while still warm to flatten the image.
2. Color brads using Perma-pague markers and insert into holes in charms, mixing colors as desired.
3. Create green “striped” background with two 2x12” pieces of plain green cardstock. To add stripes, draw “sloppy” lines in alternating colors of Perma-paque markers.
4. Cut one edge of two 1.5x10’ strips of navy blue cardstock using decorative scissors. Use the blue Perma-paque marker to trace and color the edge of the border. Use straight lines around the outer edge as well.
5. To create the title, color metal letters with desired colors of Perma-paque markers.
6. Layer all elements onto tan cardstock – use picture above to assemble your page.