Garden Corner Card
Supplies:
Flower Soft® Card Toopers
Garden Corners
Sentiments - Baskets and Butterflies
Flower Soft® glue
Flower Soft®
Summer
Sunshine Yellow
Flower Soft® Ultra fine peel off stickers.
Silver 457
Card for matting and layering
Foam pads (if you want to raise your card topper up)
Instructions:
- Mix small amount of the Summer and Sunshine Yellow Flower Soft® in a bowl, to create your own unique color.
- Using tiny dabs of Flower Soft® glue randomly highlight areas of the flowers in the design, do not use too much glue, you want to add to the artwork not cover it!
- Generously sprinkle over your Flower Soft® mix and tap off the excess.
- You can also use the same technique around the base of the outer edges off the design to add more dimension.
- Set aside to dry, about 20minutes.
- Take colored card and use to matt and layer up your project. Place your Garden Corner topper in the middle and finish off with your gorgeous Baskets and Butterflies Sentiment.
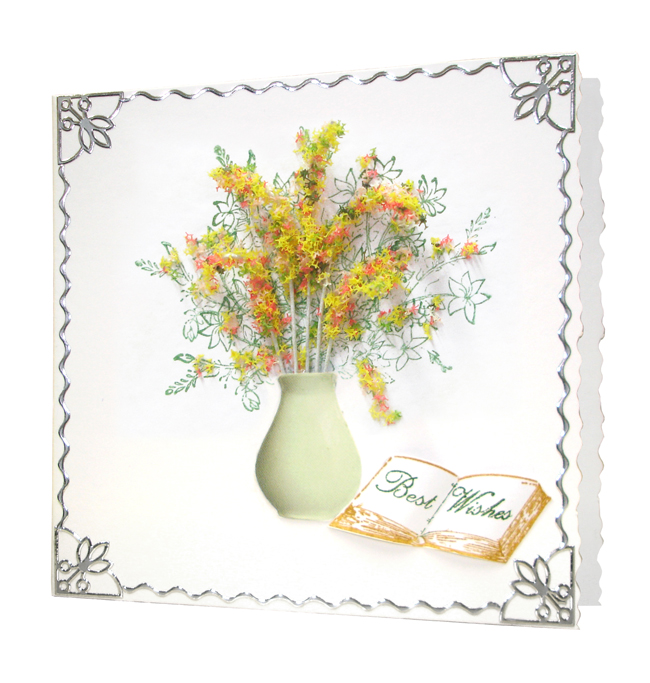
Summer Vase Card:
Supplies:
Flower Soft® Un-mounted Rubber Stamps
Flowers and Foliage set
Quiet corner bench set
Flower Soft® glue
Flower Soft® wires
Flower Soft®
Baby Pink
Bright Pink
Small card 4x4
Flower Soft® Ultra fine peel off stickers
Silver 457
Foam pads (if you want to raise your stamped sentiment up)
Instructions:
- Take a pinch of the Baby Pink and Bright Pink Flower Soft and mix together in a bowl to create a lovely new colour!.
- Cut Flower Soft® wires to desired length approx 2inches,( You will need about 7 or 9 for your arrangement)
- Add a generous amount of Flower Soft® glue to the top third of your wire and generously sprinkle over your flower soft mix to coat the glue. Shake off excess and stand in a piece of foam to dry. Repeat the process then leave to dry for approx 20 to 30 minutes.
- Cut out a vase from the pack and place onto your card in the position it will be fixed.
- Make a pencil mark at the top of the vase as a guide for your stamping. Remove vase and mask off area under pencil line and proceed to stamp your background foliage.
- Bend vase over your finger to curve into a bevelled shape, apply glue to outside edge, leaving the top of the vase clear. Position on card so that the stamped foliage background sits at the top of the vase. Leave to dry approx 10 minutes.
- Run a line of glue at the top of the vase and start to place flowers inside the vase. As you add the stems one at a time, each stem will take some of the glue further down into the vase. Leave to dry approx 15 minutes.
- Flowers can now be gently bent and arranged as required.
|