Close this window to return to series
600 project listing |
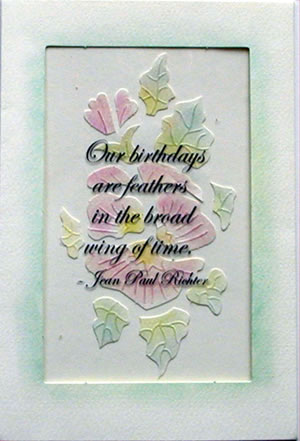
Decorative
Window Card
By Julie McGuffee |
| Materials
Needed |
 |
| |
 |
“Birthday” Rub Ons – Royal
and Langnickel |
| |
 |
4 x 6 “Design Your Own” Greeting
Cards – Royal and Langnickel |
| |
|
Soft Pastels – Royal and Langnickel |
| |
|
Sponge Tip Stencil Brush - Royal
and Langnickel |
| |
|
3 M Adhesive – tacky adhesive,
vellum tape, double sided re-positionable tape |
| |
|
Transparency Sheet (non-ink jet) |
| |
|
|
| |
|
|
| |
|
|
| |
|
|
| |
|
|
| |
|
|
| |
| Instructions |
| |
1. |
Remove the rectangle from the center front of
the card. Carefully remove the die-cut pieces from the center
and place them onto a piece of scrap paper. Tip:
Place small pieces of double stick tape onto the paper first
to hold the die cut pieces in place. |
| |
2. |
Color each piece with soft pastels using the small sponge tip
brush. Color around the edge of the window opening on the front
of the card. |
| |
3. |
Fold the card then place the die cut sheet back into the window
opening. Place each chalked piece into the area where it was
punched from and adhere with a small amount of tacky adhesive.
Use a toothpick to apply to small pieces. |
| |
4. |
Remove the die cut rectangle and your chalked pieces will be
in the correct place. |
| |
5. |
Cut a piece of the transparency sheet the same size as one
panel of the card. |
| |
6. |
Following directions on the rub-ons packaging, rub a saying
onto the center of the transparency. Adhere to the back of the
window with vellum tape with the saying toward the front of the
card. |
| |
7. |
Adhere the flap with chalked flower design to the window panel.
Add a subtle area of chalk to the inside of the card then rub-on
a greeting or another appropriate saying over the colored area. |
| |
|
|
| Sponsor:
Royal Langnickel |
|