Epson Computer Tip: PhotoShop Elements Quick
Scrapbook Techniques: Erasing portions of Digital Elements
|
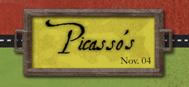
| Here’s a cool digital
technique. Erasing just part of an element can sometimes make it
look more realistic. If you erase the center of a scanned eyelet,
for example, to show the layer of paper underneath, it will look
more 3-D. It’s easy to do with Photoshop Elements 3.0. Watch
this. |
 |
| |
1)
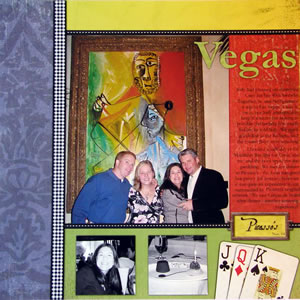
These elements were layered into one layout by dragging and dropping.
We’re going to work on the bookplate element. To do that,
we need to place the layer with the bookplate on top.
2) Zoom in for
a close up to make it easy to see. Click on View/ Zoom
in.
3) Next, select
the Eraser Tool . Click on its icon in the toolbox. We’ll choose the block
because we’re erasing a straight shape.
Click on its icon in the toolbox. We’ll choose the block
because we’re erasing a straight shape.
4) Adjust the size
of the eraser area by clicking on this line, then click on where
you would like to erase. Erase part of the label holder on both
sides of the plate. Now it looks like the ribbon is threaded through
the back!
5) Go back to full
page view, then print. Use 12x12 scrapbook paper and a wide format
printer.
Equipment used:
Epson R1800 Printer
|
| Sponsor:
Epson America |
|