|
| 205-1 | Print | Close [X] |
| Rachel Carlson creates a tea party with coordinating looks. |
For More Information Visit: www.rubyrock-it.com |
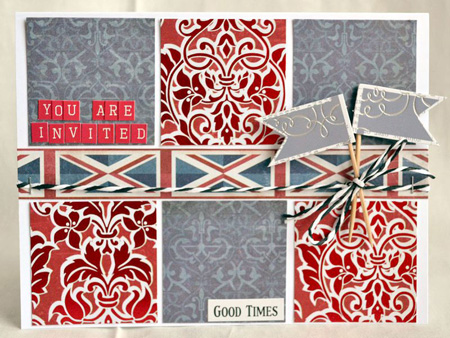
A Tea Party Fit For An Olympian Crowns Step 1: Find/use a sheet of heavy weight patterned cardstock. This is important when making an item like this that will need to be sturdy. Choose a pattern that when cut out will have a shape to it. Such as a floral pattern, scallop, etc. This will give the appearance of a crown. 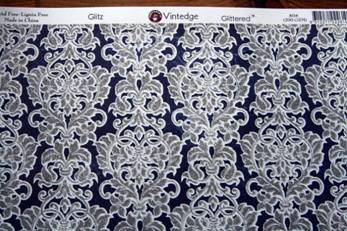 Step 2: In this case we have chosen Ruby Rock-It Vintedge Glitz as this sheet of paper will allow for 3 crowns. You will use your fine tip scissors to ‘fussy cut’ around the edges on the left and right of each pattern. These two sides will have the straight edge you need for the crown base. 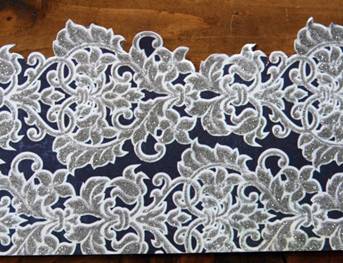 Step 3: The center piece will have uneven edges so you will need to use another trim or scrap of paper or other with a straight edge that will help complete the ‘finished look. Step 4: Embellish the crown to your heart’s content. Everyone likes a crown filled with sparkle. Step 5: Use a stapler to close the edges of each side of the crown to complete the look. 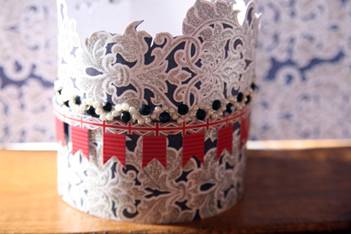 Placemat, Tea Pocket and Spoon Band: Step 1: Use one sheet of 12x12 patterned paper as your base for placemat. This works great for a scalloped piece of paper, a frame, etc. Use one that has interest and would be fun to look at or have a conversation about over tea. In this case we are using the Ruby Rock-It Vintedge ‘Banner’. 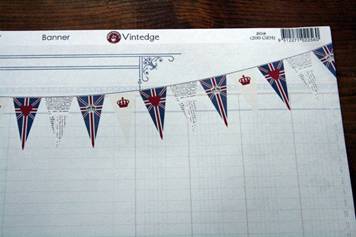 Step 2: use a 2x12 strip of paper trim/scrap to add to the bottom to create a little bit of interest.  Step 3: Create a spoon band to add directly to the 12x12 sheet of paper (placemat) to hold the spoon. In this case we used the Ruby Rock-It Vintedge ‘Tokens’ sheet of paper. This sheet of paper has a lot of ‘tokens’ to cut out for extra use such as this as well as photo mats, hidden journaling, etc. 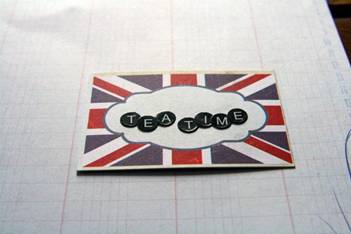 *Use a very strong adhesive to hold the ‘token’ down. We used Therm O Web Super Tape. 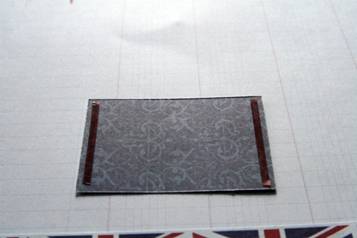  Step 4: Use another ‘token’ from same sheet of paper to create a tea bag pocket. There is at least one that is the perfect size for a tea bag. 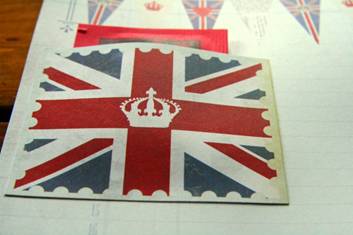 Step 5: Use Ruby Rock-It Vintedge cardstock stickers to personalize placement as this sheet of paper lends itself to just that. 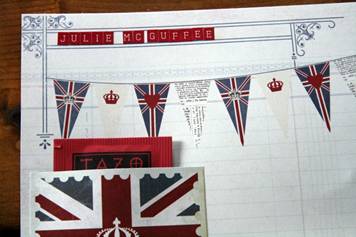 Memory Book 6x6: Step 1: Use of to 4 sheets of 12x12 patterned paper. 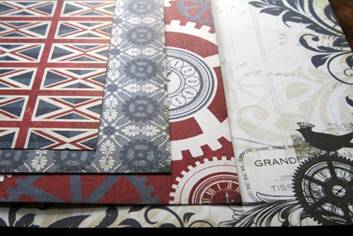 Step 2: Cut all sheets to 6x12 keeping in mind the pattern and orientation of pattern and whether you want a horizontal book or a vertical one. 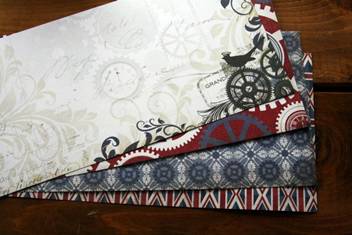 Step 3: Score all sheets of paper in half. In this step it’s important to keep in mind which side of the paper you wish to feature as you will be using glue to secure the back of one to the front of the other which means you will not see one of the sides in the inside of the book. 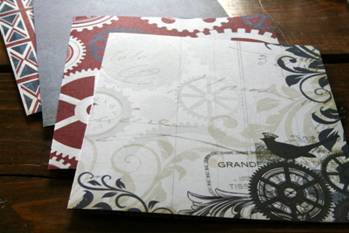 Step 4: Use a heavy duty glue stick to secure each backside of each paper to the front of the next. Do this to the remaining sheets of paper. Step 5: Use a border sticker trim and or sheet of paper with adhesive to embellish the cover and act as further insurance to keep the book secured. 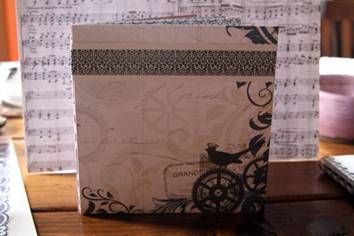 Step 6: Further embellish to your heart’s content. Add more pieces from the ‘token’ sheet for photo mats, pockets, journaling, etc. Notes: Have your tea party guests sign the book, share their favorite Olympic memory or athlete as you all discuss the Olympics over tea.
|
Julie McGuffee & Rachel Carlson  |
|