Scrapbook Soup is the site for  scrapbookers, paper crafters, card makers and anyone interested in preserving memories through photos. 

  www.scrapbooksouptv.com

206-4 Print | Close [X]
Rachel Carlson makes creative wedding accessories.


For More Information Visit:


www.rubyrock-it.com
A Romantic Wedding Under An August Moon
-Inspired by Ruby Rock-It Bella! Fundamentals Design Team

Table Setting:

https://lh5.googleusercontent.com/1QRRkEssysVYXBrbK_flZ5Gf2QGeP2vokftEhlCM8YCY-9GZVbDquyLRxLmPtvZxDe80Ym5XHXym758h8i31YRCtoneNH-Iu1LVcZOMz_kqtukjUWVI

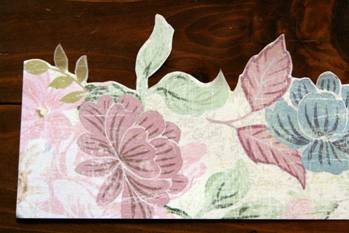
Step 1: Use a sheet of paper with a pattern that can be cut in detail to shape of image on pattern. This is what will be used to form a sleeve to go around a vase for table setting.

https://lh5.googleusercontent.com/ap4wuVsxVmuOnuVf-1C0RsdCRC166y1hdfIGgPS3-85W2u9cH0PADG_yobC99s0sjrol5MuPKXBGCiv1zKEid03ZL1sutcph4NcAdQHn1u7GKtUiHo0

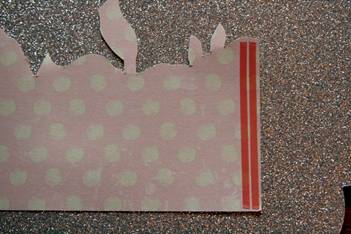
Step 2: Use two strips of Therm O Web Super Tape on one end of paper to secure to the other to form sleeve.

https://lh4.googleusercontent.com/qHG8s7k4AekiCJ0wXA6J1DQcaDGR_yso1ZVQtijJ4OBqeIdKU_0IMLY8x_pTgHgRfYRH2ZTHwpO1riQJgC_cUm0IvJlvOrtsWTZQ3Jnd7OItJmVh_bY

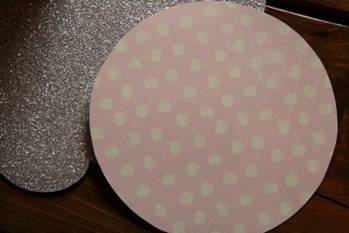
Step 3: Cut a 6 inch circle or larger that will fit on another sheet of ‘scalloped’ paper as base for vase just to creative some interest.

https://lh5.googleusercontent.com/WQDMUn42_hLFfpkGkuYJHVU6V2ZVBFSOIBhMz6Cmaw4kIuPNELUv2nEoa8C2HAEO-Y8hYag2joZGK6e1SoaUVWnek6k51AqrboIvvFlxo_CryjVqLWM

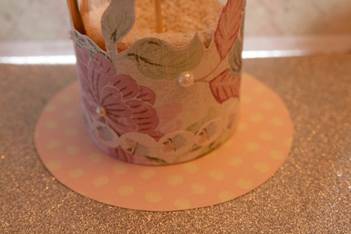
Add additional trims to sleeve like pearls, decorative adhesive strips, etc for additional interest.

https://lh5.googleusercontent.com/nZzL2dtYOMazVqO_dPQ52mDfMaV7wuHOBcxzXWHe3Mu_Cj3rAD8JONAXFvEfy1isTW0ZheA1jKRrgyytYhMDMlNAQosEvOsCWsHqWCnSAxvewU_j1IQ  https://lh5.googleusercontent.com/VnR--Kche663qJXF6s_0epeUxICNdUhlxlPxAKoUM99sb6WTcyU6hj4REkG10OczGbFpo5U0rOfoJtQsxo7N8a27gPFTLCwaq1B1dZvK9DCc5xOz0SA

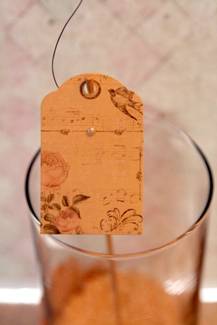
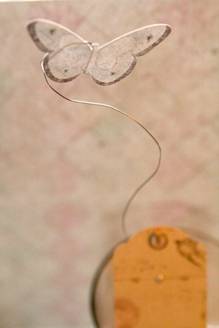
Step 4: Wrap wire around a dowel and slide a tag on the top of the dowel. The wire will help keep the tag in place. Add an additional pearl to top of dowel to hold tag in place. Before you do this step, make sure to add table number or other to tag. At the end of the wire, place a butterfly, flower or other for additional interest.

Guestbook and base:

https://lh5.googleusercontent.com/__RKiN22q4bql5Yjn2E_JHoIw02wzPOHteaWNGE2bDdWUpqfKl7bhoT3i51EYyh2A9RnbzUj-3xZe76PZtOPIe_b9t5nsR_SmxYnPqG7LiUbKHvZu1w

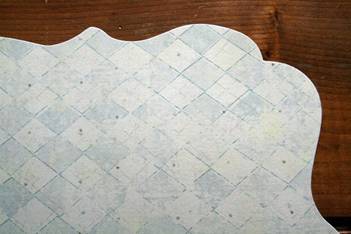
Step 1: Yet another reason to use an pre-cut scalloped sheet of paper as a base for something else that can also be used for a scrapbook page when completed with original use.

https://lh3.googleusercontent.com/rRC60E6M6qvq2rhLCbfPkJxXXzYGKgcxQ161n6BiKXUPEidnHgaO5bu6Q-yBd8qKX8mIi7s2OMBwWzCwBeg9RV7kwQQvKq5bbXP2ds7Db9yTREZc6-4

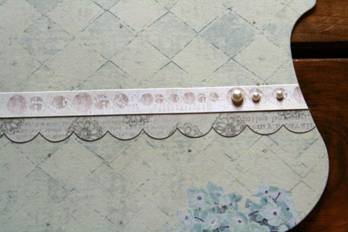
Step 2: Use adhesive trims and or strips of paper to create interest on bottom of paper. Add additional embellishments like pearls or jewels.

https://lh6.googleusercontent.com/jm0cYuAy8thOYrE-gBZUzKh4lpDGdJvooZYVcrDQ4jfqaI4gj2tOPRZtcBxV6meU3pmjq558qqvJgSzYrT5YHo2Fnjxl8ovLry1eJSqY1bCq3AfcCec


Banner:
https://lh4.googleusercontent.com/9qa03nxwCNzV6n2HerHjndnnGOTIP_kVkgUWJWaHOV3v80EKHHQsWu55tpJpfUI1VT0mu5XvpKnBqvD5nCJxk0XpAsuYf4y45eHjifzybd4ngyVMEGM

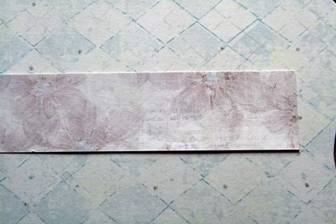
Step 1: Cut strips of paper at 2x12.

https://lh4.googleusercontent.com/GqlxA09yJ94irDNsTSQQ9KixmBpq1q7tZcNuL7QvKLkeLMC2POkocNixj14lECTYY4Lzdt4kEXsz7zNDZr1_aH_-mvM0I87rycacS79X4kEKqf9Ytf4

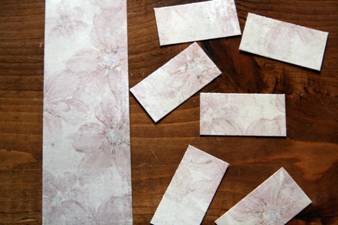
Step 2: Cut that strip into 1 inch sections.

https://lh6.googleusercontent.com/rN5EI1gn3bghXyAit2Lup0nKphbkuGx4TLTp_bd8poVMkzr6vqwReoTyAywXOw5nF0F-aWoNBJ0cXfh1fB7xOk5eI1hUL3f9zT7Md4XPwBgAe5PPy8o

Step 3: Fold 1 inch strips in half and cut the top of a triangle at bottom.

https://lh4.googleusercontent.com/HRkwaN0D9bV-PafU5POXiUKz2RD4tgvHdLLvfk36MZY8SwDBmON4f2Me3vsI3Iz1Sy9ZOFmAqYiyYMTUZt3Ez4SMs_ywIvWWSU0jQ6zUrwHZvA8gCCM

Step 4: Use pom-pom trim for banner pieces.

https://lh3.googleusercontent.com/DYYRK-e8vuh7Kw_d0pYWxJWfWxL7zprUXocNrbKNibavoSCKK5El53ga2j4tdG2nnLW9BnrrbRtKSI74suA17gUbJN_0SPO0n-5DfoiKRxiG98S23nM

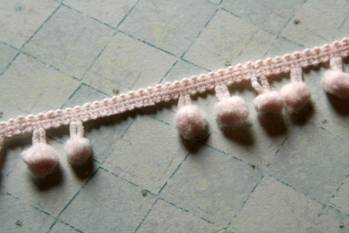
Step 5: Cut two pom-poms off trim for.

https://lh5.googleusercontent.com/VdJD-N8sQ8yQP_8G6jHAoEk8ESqAbzTPfAek-jfaFCKivPrT02jnhrG8Jd_90KVSb3pY8A_YzCht8P5K05RmK3HoNTEVvhGvQacp5uJZSHDsrAozEf4

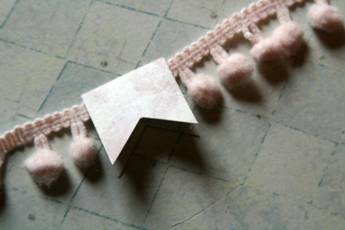
Step 6: Add banner pieces to pom-pom trim.
Adding dimension to cover of guest book:

https://lh3.googleusercontent.com/1CRbmm7S31BKgLx3ooSB8Hv18ma1ChgLW6kA_V7LAHmgOmGrj8N9KX37SWOUFBetFPy1mLEKICtoYmx1Zcqp8yC_IkCAtBD3zpc1zPl56qJsDZDvTho

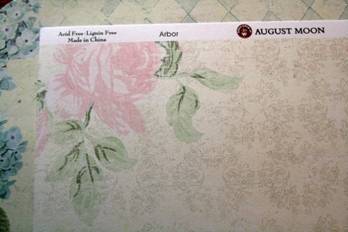
Step 1: Use another sheet of paper that can be cut out for it’s shape.

https://lh5.googleusercontent.com/YuBzA71Vjcie8p9FhMPc3CzrBICkuontwrsIwgGzXlPEz32fUxoVL_imQm2yCpwpgSmRO6VjI9hKWf5lJFL_PlpVttsV6piv8xNGnqS0rTlP6NzG00g

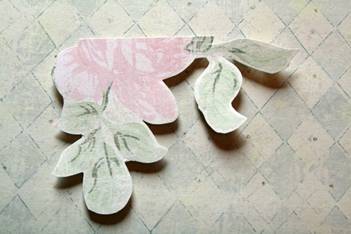
Step 2: Trim at top if needed to fit size of guest book.

https://lh3.googleusercontent.com/6FPizEWr2hDcx5E4JCCKAM5CTru2BE0ZNWS7qAto-rNsoNEi1jQxW-pcnvzG26odKIdMlWvyAu76q0LJwYwDIxt-qgqqtT2Y5bCaTBBDPQFgGvROmfA

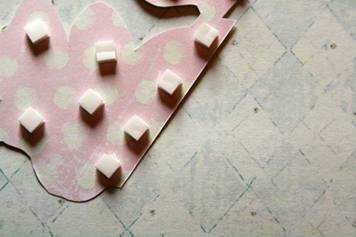
Step 3: Use Therm O Web foam squares to add dimension.

https://lh4.googleusercontent.com/5wxQfCULpB-y_G06WShF1zrFCeMg6mF34qsUc745BCrC1Q8OqpEiVFOf6FIntAYS_NmE-9gqkeqWR2hT9UkKU1E3fX5W5XqH3bbDbOcuxstBda01Jyc

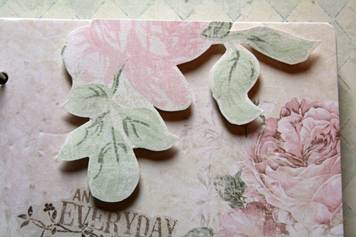
Step 4: Add to cover of guest book.

https://lh3.googleusercontent.com/K260JAeeKZ-19BEU1X3Hfvu_2pUBk5zOZrF00x6jBGy6fOjb3yqqkROeVfPuNRtI1F4TGewfAKRBpQ_MsNyRfTNl1q16kl3qO1gEaRB1F5FAD5C9EZY

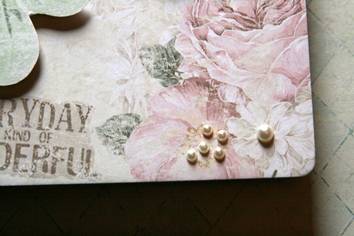
Step 5: Add additional embellishments to cover.
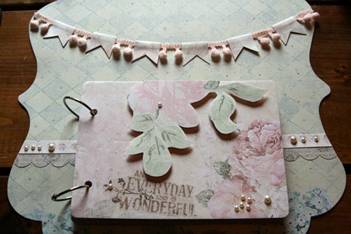
https://lh6.googleusercontent.com/qVeOfotN1CATvAYLm75TVrA6GJ7_wwA4WTtKolkDK1EvTAZlaClUHGI14t2aPRUqq-lZwSLSrbxnqIT6qppp8RTkoC0vu_dx2uY3syhbzqx7RqCCw9Y


Place setting:
https://lh3.googleusercontent.com/vVQhcvYQVTrOuIiei4cMyk1FBd3qn69K1QHR44cM4KL56yMyQm_Q6R2FcB7-96iQrWtID0ar0cGyUvVC6xTWqcAbhErlqvCqJsw-ftBZsl78cmhTGuk

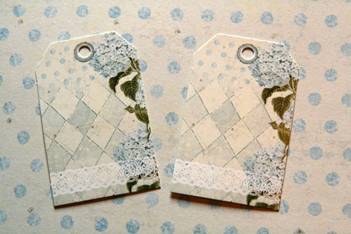
Step 1: You will need to two tags to complete the place setting.

https://lh3.googleusercontent.com/TMetFmPh_g0PdyfCLSpminyAHBXA2kC51QzdQQyVpSYZ2yw2lC3fB7N-PMpN0ia7ZrEvS4-K_WNmdyzUIlbwQLh_FnyNXzXz_pEgJQM-XCpIOq0sDFc

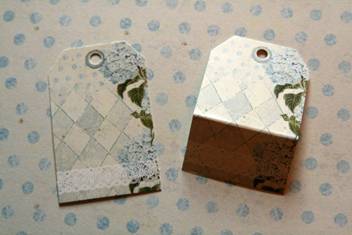
Step 2: Score one of the tags on the inside of tag if the tag is only one-side as you want to use the patterned side of tag to create interest on the back of the place setting.

https://lh3.googleusercontent.com/HNKKQMePiEkLAe8g64WpVq7MeJuUB-PhG8wC0cHRbTMzJl7WHWfPZrGisfFRh0EBls8LgQ_MSCGg4yqzGZd8l8hI8OeIiX6zGwdAzI_zS2MD19FH9DU

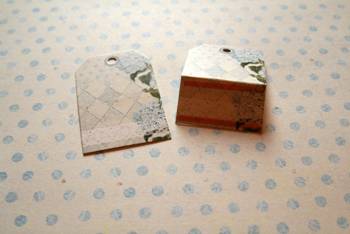
Step 3: Add Therm O Web Super Tape to the front of scored tag at top of score and at bottom edge of tag which will be secured to the other tag for it to stand up.

https://lh6.googleusercontent.com/9ZLXam06izbMOtUHwMpwmru5Y1jlagjPbpkLjdMjswCLFoEEtVOlGPPaYSAu7kjaZXGIcXtbvIV1J1dh6qPkdvKPWBAQfxisCngLJPYSyLttCvVBzp4

https://lh6.googleusercontent.com/zo9k9x3T8lT1fKEnjE4nOu1BA9OQHoqQkVa4h-SLK8z6TfjwJ9xOT6UMtY-jHn-9ARvz07VaEJYKUfeYUZqAd7e7wFLoQKTvcFPosVXrRsLvH9ax2E0

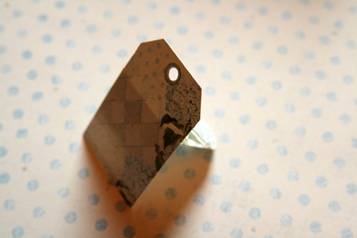
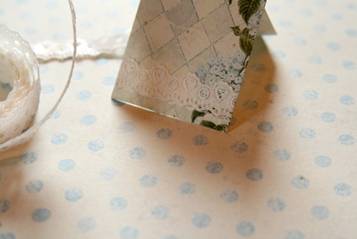
Step 4: Add adhesive decorative tape to front of tag or other embellishments.

https://lh5.googleusercontent.com/MIPd03Mzsk1qXBuE-qmplyqq-ZK-5IYWEDAsClZ0BSrReGEMnikqA2aTUT-15GHwFeWlTuvQgjIXcbcanRpH6wlCv-GMUbwnxIPWltSuQdhMfMlYUbY

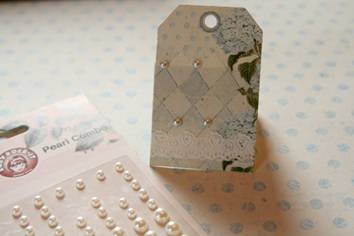
Here we added pearls and additional embellishments to create interest to the tag. Don’t forget to add them to the back of the folded tag as well.
https://lh3.googleusercontent.com/2iO96ge7rV4xd0J3zTxV97isMldiglxeeszmOyMETyMj0KzV96N2NYO2C_WOBYSfXivRJ20_5a_vv38hvvtQx0A313Ut-1qkR_oKlQP3CTxh9n_8psI

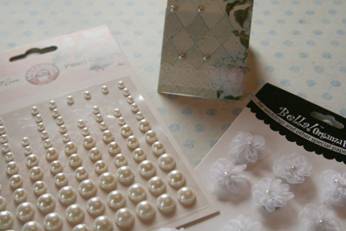
Use stamps or adhesive letters to add name to tag.


Julie McGuffee & Rachel Carlson

Copyright © 2012 Scrapbook Soup, All Rights Reserved