Encaustic Vintage Layout
By Paula Nelson-Hart
Materials:
Purple Cows Melt Craft Iron and Encaustic Tips
Purple Cows Encaustic Paints and Medium:
Metallic 3 Pack
Primary 3 Pack
Deep Sea Spearmint Cube
Spring Lawn Cube
Candy Apple Cube
Blizzard Sky Cube
Salsa Blush Cube
Cherry Cola Cube
Tonic Studios Glass Mat
Crate Paper Random Collection Vintage Paper
Plain Cardstock
Ephemera printed on Newsprint
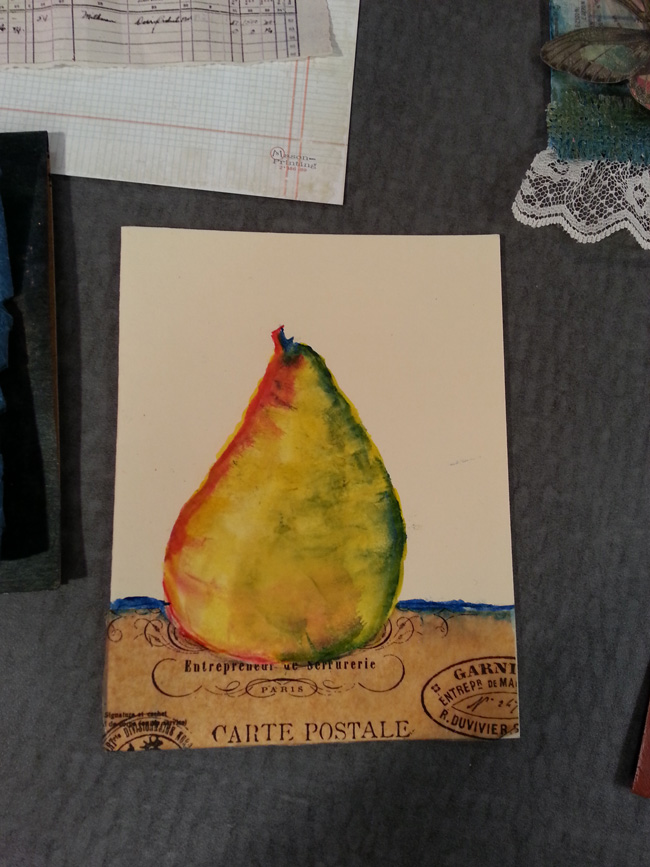
Hummingbird print
Vintage Music Sheet
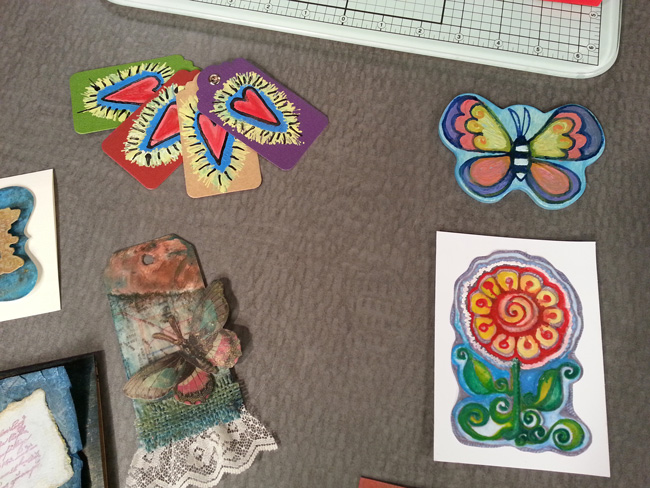
L Embellishment
Images
Paper Towels
Heat Gun
Adhesive
Piece of lace
Scissors
- Prepare the encaustic background pieces.
- For the music piece, tear a piece of music an inch larger than the photo.
- Using the heated (on the lowest setting) Purple Cows Melt craft iron and the mini iron tip, drip some dark blue paint into the lower corner and spread.
- With Deep Sea Spearmint Encaustic paint, repeat in the other lower corner.
- With Blizzard Sky Encaustic paint, repeat across the top.
- Use the iron tip to continue spreading and mixing the paint toward the center. At this point you could use a heat gun to blend the colors.
- When all the edges of the paper are covered and blended toward the center, add a few “swipes” of gold starting in the upper left corner and blend.
- Now use the mini iron tip to curl the edges of the paper towards you.
- Repeat the same technique with a plain piece of cardstock about an inch larger than your ephemera newsprint piece. Try varying the colors, or adding a bit of green.
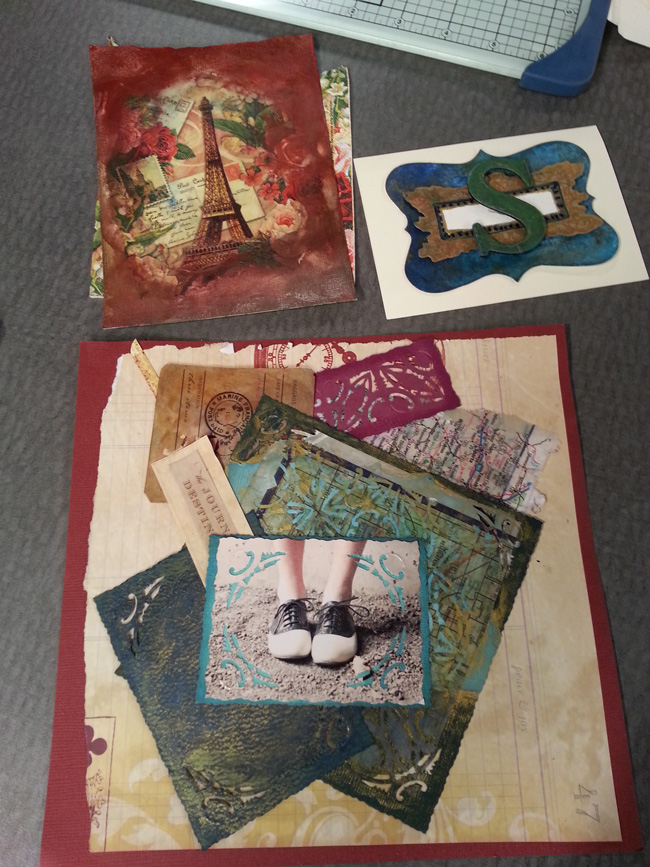
- Create the ephemera collage piece.
- Clean the mini iron tip carefully to remove all color paint residue.
- Using clear encaustic medium, coat the paper. Use the heat gun to ensure the medium permeates the paper.
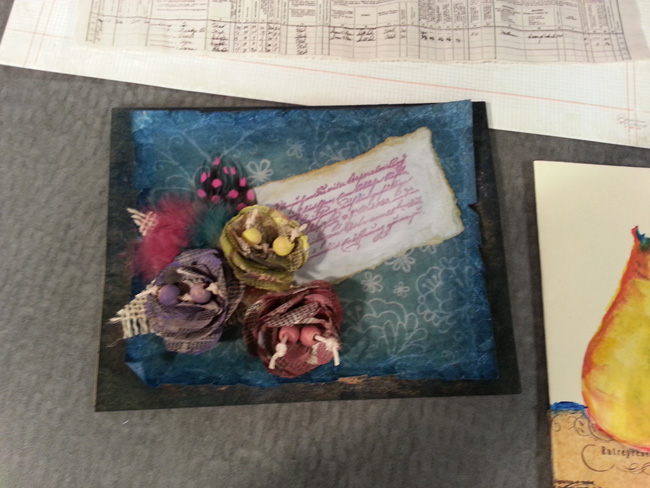
- Place several dried flowers in the corner of the covered paper and drip encaustic medium over them.
- Use the mini iron to spread the dripped wax over the dried flowers.
- Add color to the image (hummingbird) print.
- Lightly “iron” some Cherry Cola encaustic paint around the outer edges of the printed image.
- Using the wax stylus tip, trace several flowers with Candy Apple encaustic paint.
- Clean the stylus with a paper towel.
- Using the wax stylus tip again, trace the outlines on the bird with Spring Lawn encaustic paint.
- Add other colors as desired to match your layout.
- Apply lace to card piece.
- Cut a piece of plain cardstock 2 – 3 inches larger than your main image. (I cut a 5” x 7” piece)
- Coat one long edge with encaustic medium using the mini iron.
- Cut a piece of lace to fit and place it over the medium. I let the scalloped edge extend over the card edge. “Iron” this in place over the wax.
- Spread some encaustic medium over the top. For variety, add some color at the upper and lower corners.
- Create filigree frame on image.
- Cut out your main image with a ½” border.
- Using the stylus tip and the Gold wax draw a border ½” inside the edge of your image.
- Add swirls and filigree to the outer border of your image with the stylus and the gold wax.
- Gently buff all the encaustic pieces with a soft cloth or paper towels to bring up the luster and shine.
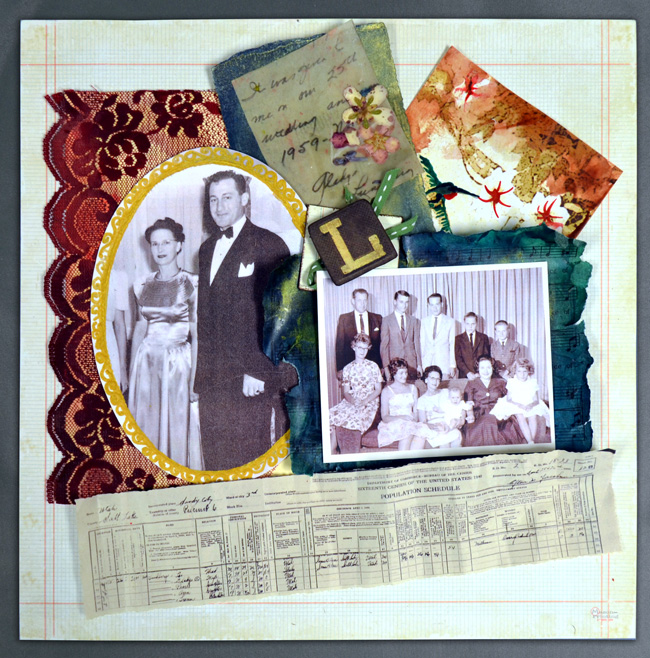
- Assemble and adhere all the pieces as shown.
|