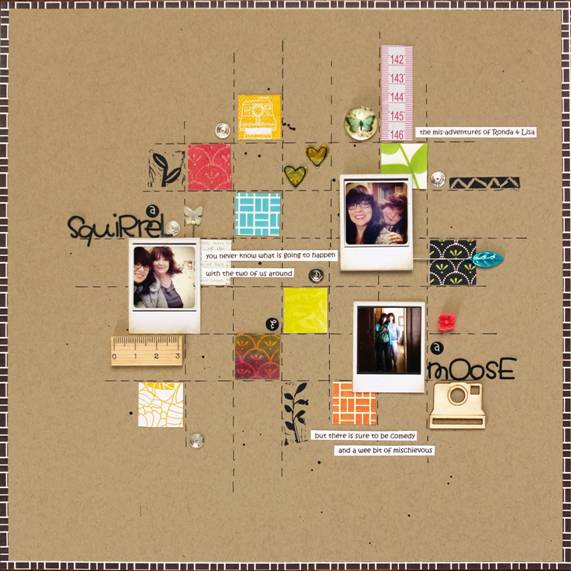
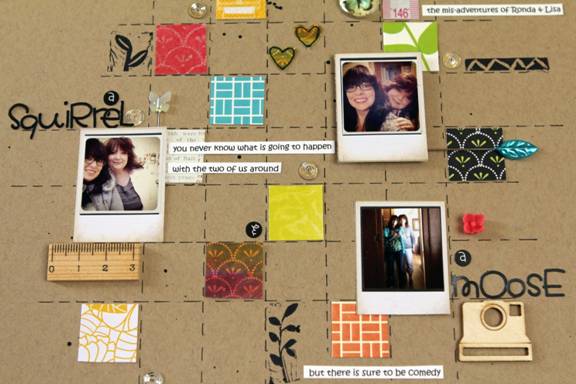
Layout: A Squirrel & a Moose
Technique: Grid Style Layouts
Ronda Palazzari
www.rondapalazzari.com
http://rondapalazzari.typepad.com

Supplies: Patterned Paper (DCWV), Cardstock (Bazzil), Ruler (Basic Grey), Black Pen (Sakura), Scissors or Trimmer, Letter Stickers (Doodlebug Designs), Hand Carved Stamps, Embellishments (wood shapes, trinket pins, sequins, enamel flowers, glass beads, trim), Pencil, Eraser

- Begin by trimming down the cardstock to 11.5” x 11.5”. Using a ruler and pencil, draw on vertical lines approximately an inch apart starting from the center and working your way out on both sides. Note: You can make your grid lines smaller or larger to suit your style.
- Add in some horizontal lines the same width apart, again starting from the center and working your way out on both sides.
- Erase some of the lines on the top & bottom making some shorter than others. You don’t want completely even lines.
- Using a ruler and a black pen, create faux stitches on these pencil grid lines by drawing on some dashed lines. Note: you can also hand stitch or machine stitch these lines on as well
- Want a little “messy” on your layout? Add in a few sprinkles of watercolor drops.
- Gather your scraps of patterned paper and start randomly filling in the grids with different bits of patterned paper. I like to place mine randomly on the page.
- Next add in leftover embellishments here and there, giving your page some dimension and pops of color.
- Add your photos, journaling, and title to the layout. I like to add my photos over the grid lines to break it up a bit. Try popping up one of the photos for added dimension.
- Mount your gridded layout to a 12” x 12” piece of patterned paper to frame the layout.
|


