Ancestor Cards on a Ring
By Paula Nelson-Hart
Materials:
Purple Cows Hot and Cold Laminator
Purple Cows Hot Pockets
Tonic Studios Duo Corner Punches, rounder and hole
Clearsnap Cat Eye Ink Pads
Crate Paper DIY Shop Cardstock Collection and Ephemera
Plain Cardstock
Names and descriptions of images printed on Newsprint
Ancestor Images
Adhesive runner
Optional: Purple Cows Sizzle Craft Iron and
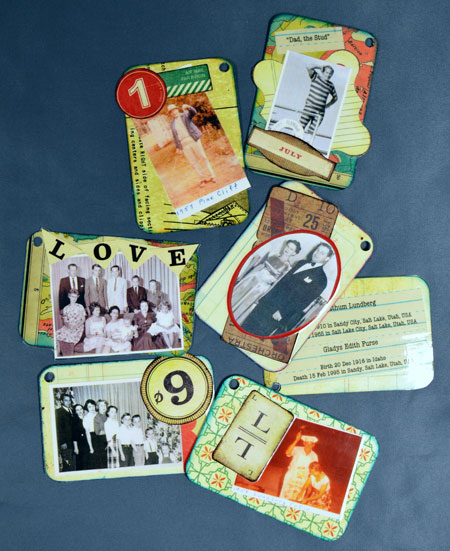
- Create card backgrounds.
- Cut printed cardstock into 2.25” x 3.75” rectangles.
- Use a punch to round the corners and add a hole to one corner.
- Gently ink the card edges to give them some dimension.
- Adhere images, ephemera and words to cards.
- Use an adhesive runner to add the images and ephemera to the front of the cards. (Remember to keep the holes in the same position, so the cards will all hang the same way.)
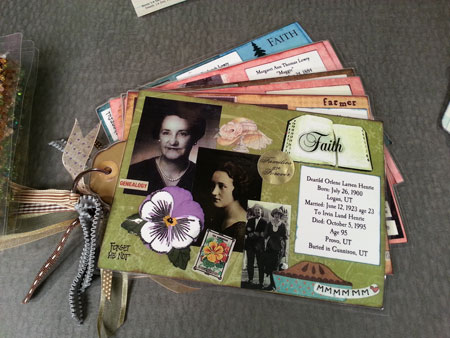
- Adhere the names and description word strips onto the backs of the cards.
- Laminate cards.
- Place the card in a Hot Pocket that is at least ½” larger than the outline of your card.
- Following the laminator instructions, laminate each card.
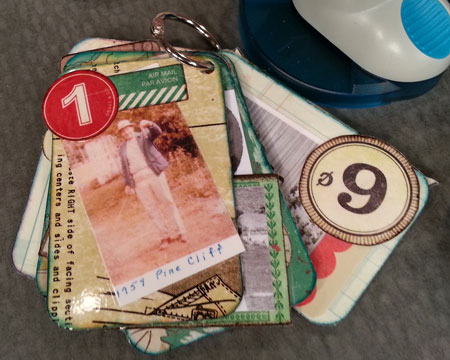
- Cut out and place on a ring.
- Cut away (or melt away with the Sizzle Craft Iron) the excess lamination and punch out the hole.
- Place the cards on a ring.
Put your own twist on this idea, or try one of these ideas:
- Create early learning cards by cutting photos out of magazines and laminating them to make quick flip cards. Make math fun by creating your own personalized “number” cards.
- Create a personilzed “memory” game by making your own deck of matching card pairs. Punch and put on a ring for storage!
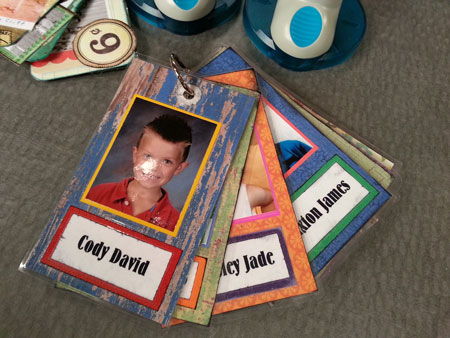
- For children and grandparents separated by miles, print out photos and laminate them so the child can easily see and indentify with grandma and grandpa. Photos of pets and houses, schools and churchs are fun things to laminate too.
- Preserve business cards from your favoite stores and always have their phone number and hours at hand!!
|
