Gal’s Best Pal Scrapbook Layout using Stencil Rubbing Backgrounds
By Jenny Barnett Rohrs

This is a very simple layout, and I bet you have what you need on hand to make the paper. Of course, if you don't have a digital die-cutting machine, you can always use the good ol' craft knife to create the negative space text. Let's get started!
You'll need:
- 1- 12” x 12” piece of colored cardstock for the background
- 1- 8.5” x 11” colored cardstock for the title
- 1- 4” x 4” colored cardstock scrap for the photo mat
- 1- 8.5” x 11” piece of white cardstock (no heavier than 110 wt.)
- 1 stencil of choice
- Crayons- broke ones are fine and remove the paper
- Inks, Mists, and or watercolors of your choice and a wide paintbrush
- Adhesive of your choice, wet and dry
- 14” piece of white trim (mine is from May Arts)
- Flat-backed pearls or rhinestones
- Paper towels
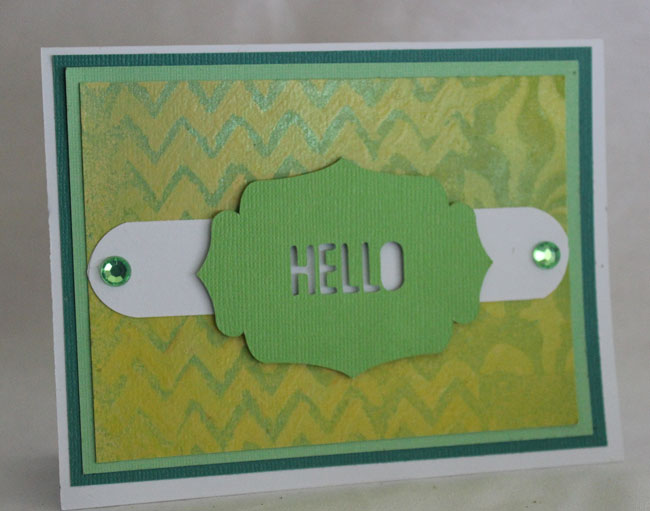
- Place your stencil UNDER your piece of white cardstock. Rub your crayons on top in a random pattern, making sure you press hard enough for the pattern to show through. Vary your colors and get lots of wax on your paper.
- Prepare your watercolors if needed by adding water. Apply inks, mists, or watercolors and blend a bit using the paintbrush. Make sure you cover all of the white. Use paper toweling if necessary to blot up extra liquid. The wax crayon rubbing should stand out nicely from the paints. Set aside to dry.
- If you'd like to custom-color your trim with inks or dyes, do so now and let dry.
- Create your title using your digital die-cutting. For mine, I used the NEGATIVE (background) space for the title and mat, and I used the bottom of the paper to cut out the letters for my dog's name. What I like about this design is that I just used FONTS that were on my computer- no fancy images necessary! I made the arrows using the "Wingdings" font.
- After you make your cuts, remove the paper from the cutting mat carefully. Cut off the bottom bit to make your Title about 7” x 7.5”. Discard the letters in the Title (Gals Best Pal), and SAVE the letters of your pet's name to adhere to the bottom later.
- Using a border punch or fancy scissors, trim your custom paper a bit if you wish. Adhere it with dry adhesive to the upper right corner of the page.
- Adhere the Title to the LEFT of your page, with the arrows overlapping your custom paper to show through. I really like that effect!
- Adhere your photo to the mat, and adhere the photo/mat to the left of your arrows.
- Apply your trim under your photo mat across the width of the paper.
- Lastly, apply flat-backed crystals to the title and to make the paw-print on the lower right hand corner.
For more information visit www.crafttestdummies.com
|


