Epson
Computer Tip:
Making a Snapshot into a Dreamy Portrait |
Photoshop Elements has the ability to quickly change any photo into a softer, dreamier look. Here’s how: |
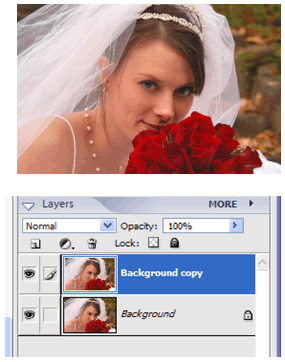
1. Open a photo in PSE. It can be any photo, but pastel to white colors in the clothing work the best. This works particularly well with children, bridal photos and couples.
2. Make sure that in the Foreground/Background chip at the bottom of the Tool Palette, the Background color is set to white, so that the glow is white.
3. Duplicate the layer in the Layers Palette by dragging the Layer thumbnail up to the ‘add a new layer’ icon. It looks like a post-it note with a turned up corner.
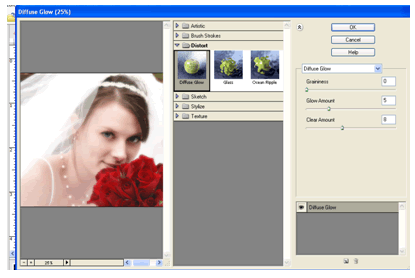
4. With the top layer active (in blue), select Filter | Distort | Diffuse Glow. |
 |
5. When this window comes up, adjust the view to 25% or less so that you can view the entire photo at once. On the right side, you can adjust the Graininess, Glow Amount and Clear Amount until the photo is to your liking. If you don’t like the grainy look, leave Graininess at 0. Glow Amount is the amount of glow added to your photo. Clear Amount adjusts the color gamut that is affected by the glow. The higher the Clear Amount number, the fewer the colors that are affected by the filter. |
 |
6. Click OK to accept the changes. |
 |
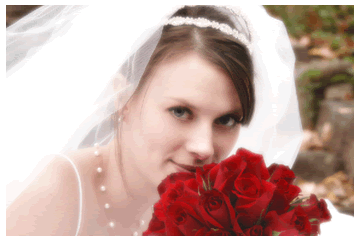
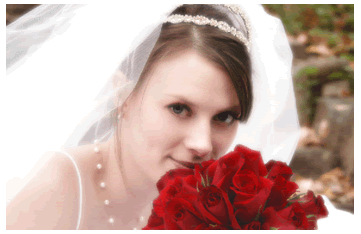
7. Now you have the filtered layer on top of an unfiltered one. You can now use the Eraser Tool (E) to remove some of the filtering. This is especially important in the eyes and anywhere else that you need more definition. We used it on her eyes and on the diamonds in the headpiece to make them sparkle. The difference is subtle, but important. |
 |
| Sponsor:
Epson America, Inc. |
|