Epson Computer Tip: Monogram Letters
By Barbara Kotsos |
For project ideas and
more, visit:
 www.epsoncreativezone.com
Monogram letters are VERY popular in the scrapbooking world right
now. When you use Adobe Photoshop Elements it’s SO easy
to make a monogram from any digital paper. Just follow these easy
steps:
|
| 1. |
Open your digital paper in Photoshop Elements. |
| 2. |
Choose the Text tool from your tools palette (or just
type T). |
| 3. |
In the Options for the Text tool select the Horizontal
Type Mask Tool. |
| 4. |
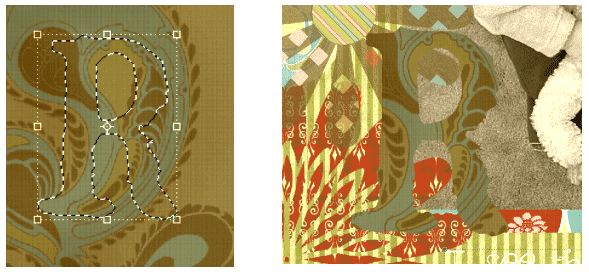
Choose a large font size (here we used 600 pt) and
click somewhere on your paper. This will create a pink overlay on
your paper – don’t worry, though, it’s supposed
to be there! |
| 5. |
Type your letter onto the paper. When you are done
typing, you can move your mouse away from the letter and click and
drag the letter around on the background paper until you’re
happy with where you are “cutting” the monogram from
the paper. |
| 6. |
When you release the mouse button, the outline of
your text will be selected on your patterned paper. Now you can
simply cut (Ctrl+C) and paste (Ctrl+V) your monogram onto your layout!
|
This is so much easier than cutting out letters by hand!

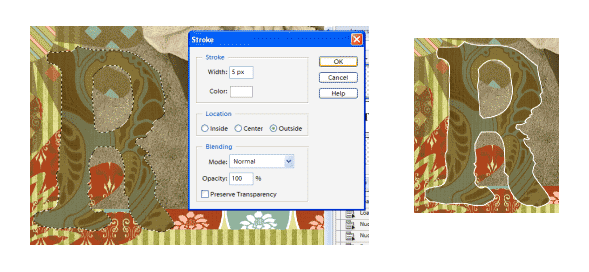
You can even create a small matte to go behind your monogram
letter. If you hold down the Ctrl key and right click on the
Layer in the Layers Palette, it will create a selection around
the letter. Then select Edit | Stroke Outline Selection. We
used white so that it would be visible, but you could use the
Eyedropper Tool (I) to select any color for the outline. You
do want to make sure that the Location is set to Outside so
the outline will be on the outside of the monogram. When the
outline is created, hit Ctrl+D to deselect and your monogram
will look like this.

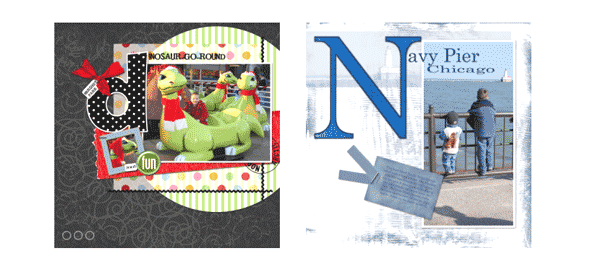
Here are some additional samples of monograms used in scrapbook
layouts. Have fun!

|
| |
|
| Sponsor:
Epson America, Inc. |
|